Concrete is formed from mixture of different elements of
several hardness and specific gravities that change from geographical region to
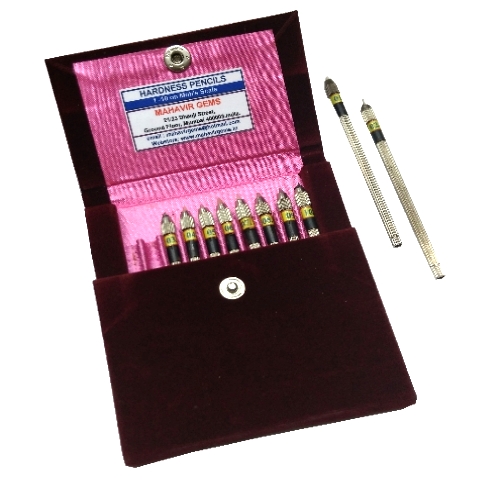
region. Use of such hardness pencil is limited to providing a general guide for
surface harness as per Moh’s scale of hardness.
Steps involved in testing
hardness:
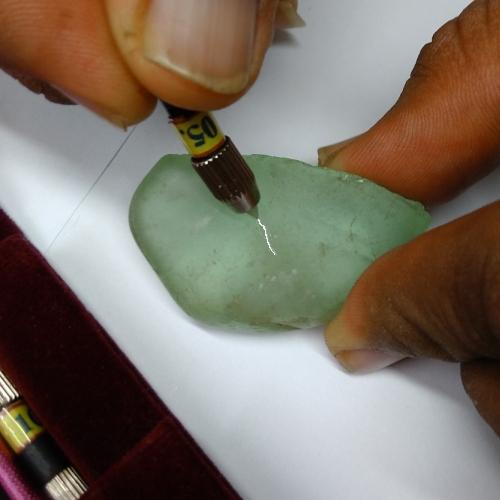
1. 1. Start with a hardness pencil with the highest number than the surface being tested is believed to be. For beginners, start with hardness pencil No.10 until more experienced and you have a general feel for the concrete in your geographical location.

2. 2. Hold the hardness pencil in the same fashion as you would generally hold
a pen for writing and place the edge of your palm on the floor as if ready to
write.

3. 3. Reach forward with the hardness pencil and draw a small straight line
towards you using the same downward pressure you would use generally while
writing with a pen on paper.

4. 4. You will notice the No.10 hardness pencil will easily produce a scratch.
Subsequent hardness pencils will leave less and less prominent scratch. Please
Do NOT force any of the hardness pencil to scratch which may damage the tip of
the hardness pencils.
4.
5. 5. Continue down through the various lower hardness pencils until you come
across the hardness pencil which will not scratch the surface. For example if
no. 6 leaves a scratch but No. 5 does not, then the ground is about 5.5 on the
Moh’s scale of hardness.

6. 6. Sometimes the metal from the hardness pencil may lay down and look like
a scratch. A small hand glass or a 10x loupe will assist you to ascertain the
scratch or line left by the hardness pencil.
7. 7. If you are unsure whether the hardness pencil left a scratch, lightly
drag the hardness pencil perpendicular across the first line. If there is a
scratch, you will feel the tip of the hardness pencil drop into the grove.
8. 8. Always test in 3 – 4 locations of
the ground so as to conclude a more accurate result. There could also be quite
one pour present in several areas of the ground, which can give widely varying
results.
9. 9. Carefully check for signs of micro-topping, self leveling or
filling/patching of compounds. Scrutinize at different colors, textures or possible
edge delaminating for clues.
10. To increase your knowledge of the aggregates used in your geographical location, do a scratch test on individual stones that are exposed during the grinding, polishing process of your routine.
11. The hardness pencil should always be sharp and in good condition.
12. The hardness pencils has extremely sharp points, hence proper care should be used when handling them.
13. Never place a loose hardness pencil in any pocket or article of clothing which may damage the tip of the hardness pencils.
14. It must be remembered that the hardness pencil and instructions are only a guide and DO NOT cover every possible situation.
For Order CLICK HERE